

So last post I shared some inspiration photos of what I was thinking of painting. And now I've got a final product to share! I used only supplies that I already had on hand.
Here is what I used:

*mini-roller *Frog Tape *blank canvas *metallic paint
Obviously any painters tape or paint will do. I had previously used the Martha Stewart metallic paint when I refreshed a retro wardrobe and dresser in our bedroom. The exact color is Silver Leaf, bought at Home Depot. The canvas I had came already gessoed (purchased from Hobby Lobby), so it was already a white color. Now for the knitty gritty...
1. My first step was just starting with some diagonal lines of painters tape from the bottom-left edge of the canvas. I made sure that my tape wrapped around the edge of the canvas. Like so...

Starting out, you can decide how wide you want your chevron pattern to be. If you want it to be a tighter "V" or wider "V". Don't worry if your peaks aren't pointy at this point. In order to make the peak of each chevron, I went back later to make them perfect and pointy (more on that later.)
2. For now, just focus on the white space between your painters tape lines. Make sure they are similarly spaced. Please note that I did not use a ruler or measure the width between my lines of painters tape at all. I wanted it to look somewhat uniform but not exact. I just eyeballed it.

3. After eyeballing a few chevron lines, I carried out the tape diagonally across the rest of the canvas. I didn't want just a typical chevron design, I wanted it to be a bit irregular. At this point, keep your focus on the width between each line of painters tape. Making sure that the white space between the rows of tape are pretty similar.

4. Continue your pattern the rest of the way up your canvas. At the very top and very bottom you can see I added smaller V's of tape to fill in the pattern. You don't have to, I just felt it looked better that way. Again, this all by eyeball. Now is a good time to make sure that those points are pointy!
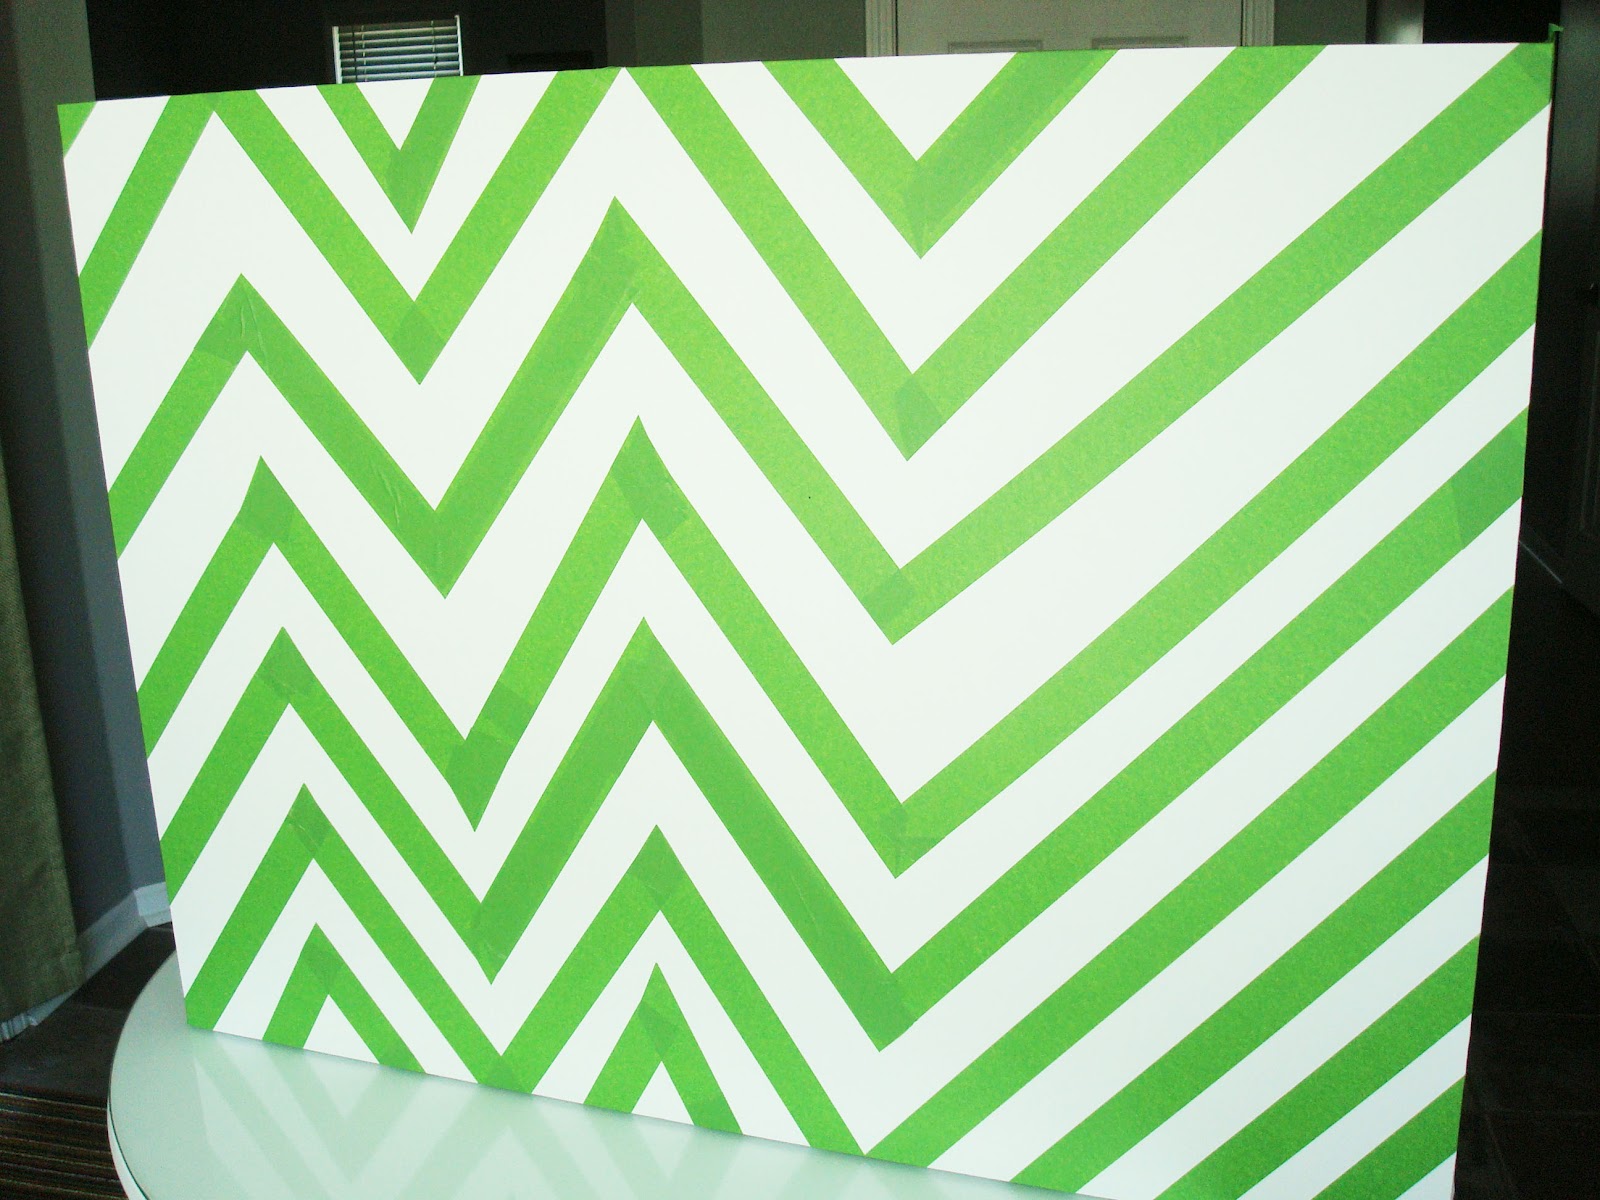
Initially when you are making your points the edges of tape are uneven and don't make the perfect point. So what I did is went back and cut a piece of tape into a perfect point and then just put that on top of the other tape. Here are some close ups of what that looks like:


5. At this point you should be ready to paint! Yessssss. I used a metallic paint that I had from a previous project. But any color or type of paint will do! I used a mini roller but you could use a brush if you want. Here is what the canvas looks like painted while drying, before the tape was removed. Anyone else love the feeling of removing painters tape? So. Fun.

And here is the final product!

So let's review shall we.....
My mantle before:

Wow, this is scary.
And after:

Much better.
Please let me know if you try this and how it turned out!
No comments:
Post a Comment